|
I’ve combined and changed a few different recipes to come up with this one. It was inspired by my daughter Ashley and her love for blue cheese mushrooms. This is a great dish when you just don’t feel like barbequing.
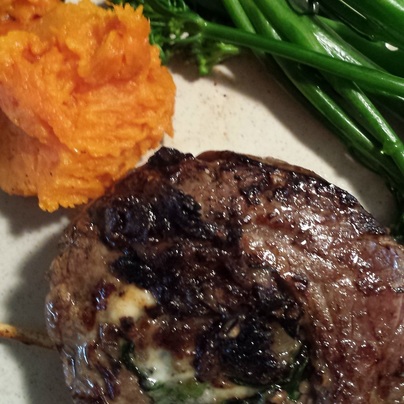
Usually I marinate and cook flank steak quickly at high heat on the barbeque. Then slice it thinly and it tastes very good. I’ve changed it all up. This recipe calls for you to sear the steak in a frying pan (cast iron works great) and finish it off in the oven.
I’ve used a basic marinade that will enhance the flavor of the steak and when combined the creamy smooth blue cheese mushrooms, it’s a combination you can’t beat. I added the fresh rosemary to the mixture. It is optional. The mushroom mixture will just as good without it. I would suggest you make rosemary roasted baby potatoes with this dish. That way you will have the rosemary. FLANK STEAK STUFFED WITH BLUE CHEESE MUSHROOMS 
Ingredients
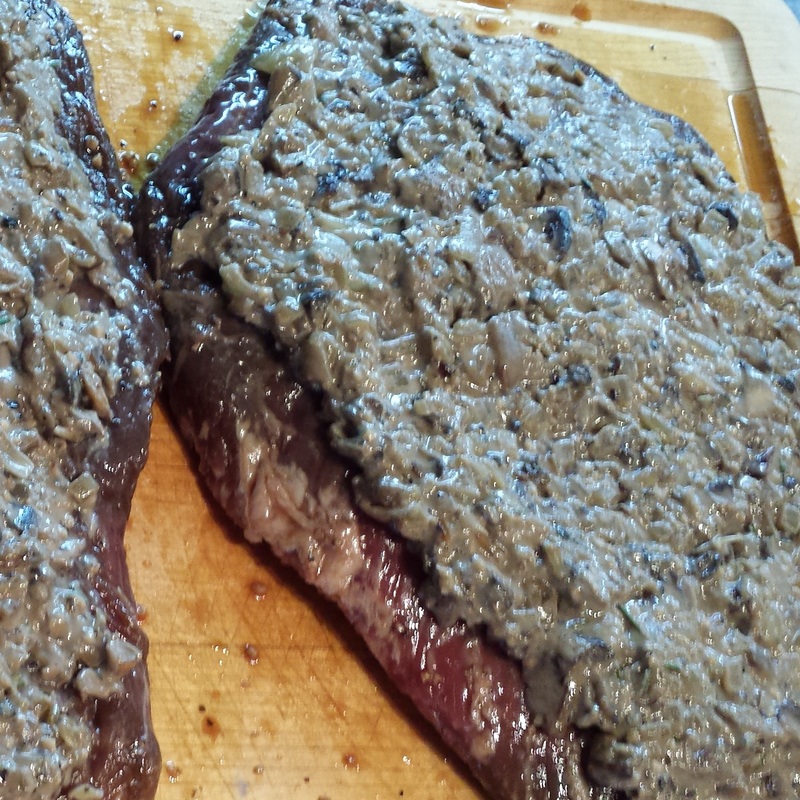
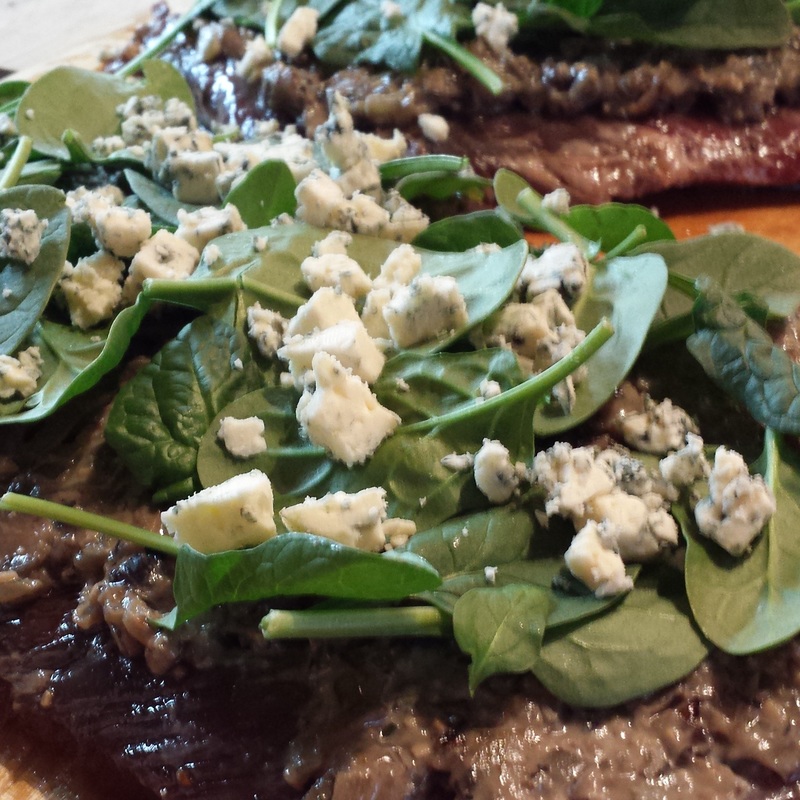
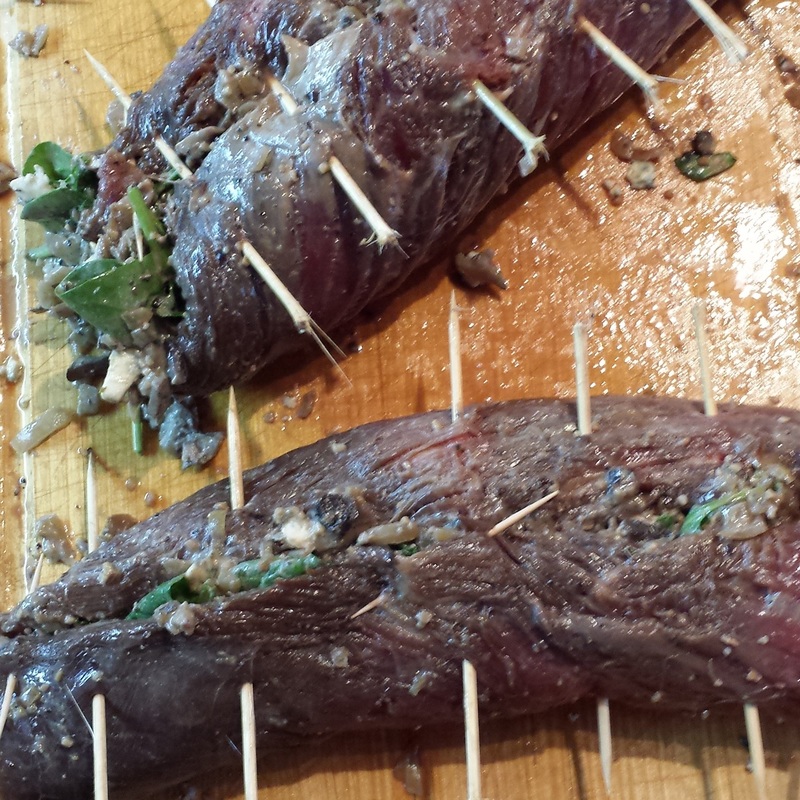
Instructions MARINADECombine the marinade ingredients in a large ziplock bag. Completely coat the meat with the marinade. Chill and marinate for at least 2 hours or overnight. You can freeze the steak in the marinade at this point. Pull it out of the freezer, thaw and it will taste even better. FILLINGHeat the oil and butter in a pan over medium high heat. Combine onions, mushrooms, salt, and pepper in the pan. Cook until onions are caramelized. Add fresh garlic and continue to cook for a few minutes. Add cream and blue cheese. Continue cooking until the cream reduces to almost nothing. Taste the mixture and if you want a strong blue cheese flavour, don’t be afraid to add more. Remove from heat and set aside. ASSEMBLE & COOKLay the flank steak on a cutting board. Spoon the mushroom and onion mixture on top, spreading it evenly across the steak. Sprinkle the spinach on top, followed by the slices of provolone. Press down lightly to compress the spinach. Starting at the bottom of the flank steak, roll it up tightly, making sure the grain of the meat is running horizontally. Use six toothpicks to secure the steak roll. Slice the steak roll into six equal rolls. Heat the remaining oil in a pan over high heat. Sear the steak rolls on one side for one to two minutes, then flip. Sear the second side for about one minute, then bake at 400 degrees for 10–15 minutes until medium rare. Remove the toothpicks, and serve!
Powered by Recipage
0 Comments
Ashley and I adapted this recipe from Annie’s Eats.
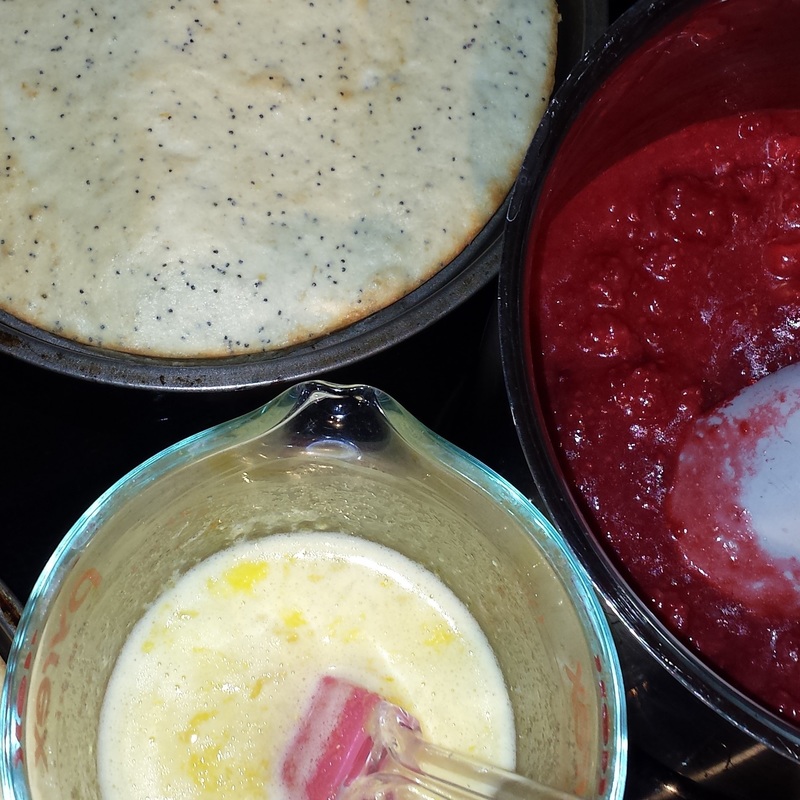
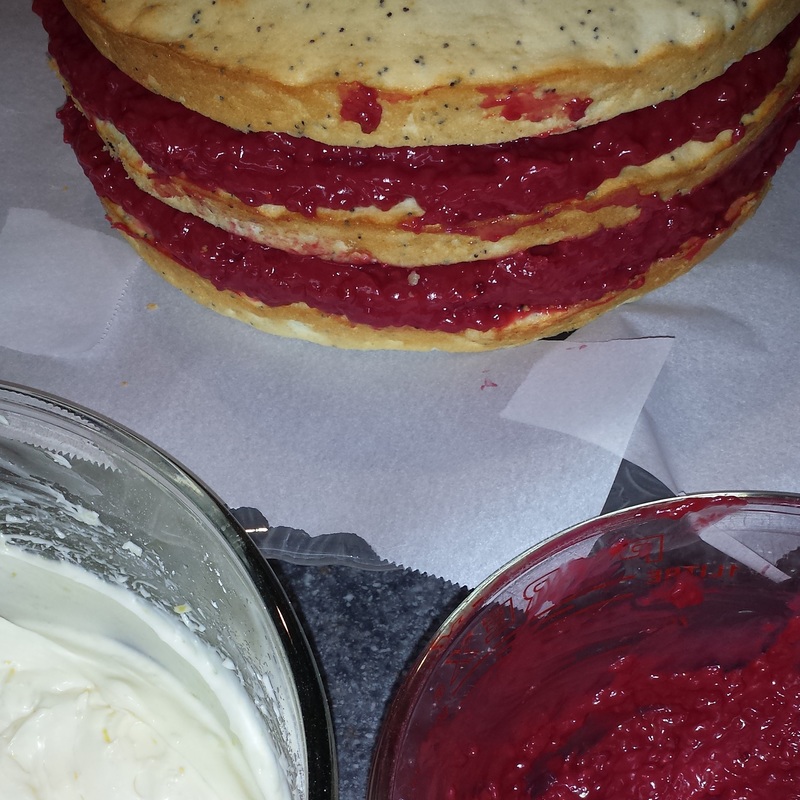
This has got to be my all time favorite. Wow!! These mini cakes blend lemon and raspberry flavours so wonderfully. The lemon poppy seed cake is a dense crumb cake and very smooth. The raspberry curd is bursting with flavor. The buttery creaminess with the raspberry is incredible. Don’t make the mistake of not putting enough in the layer. I chose to go with my favorite go to icing - cream cheese icing and added a lot of lemon to the icing. 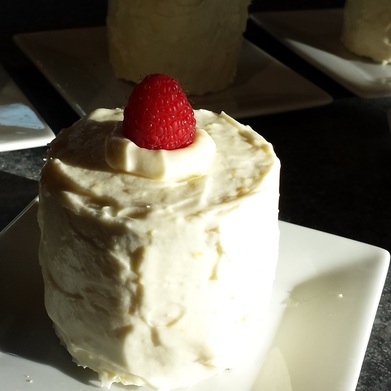
This is not super sweet cake. If you follow my desserts you will know that I cut the sugar back as much as possible. There’s nothing worse than an overpowering sugary icing. Yuck! Food just has to taste great! Icing will make or break your cake. The filling is tart and the icing is perfect to round out the flavors. It is so delicious!!
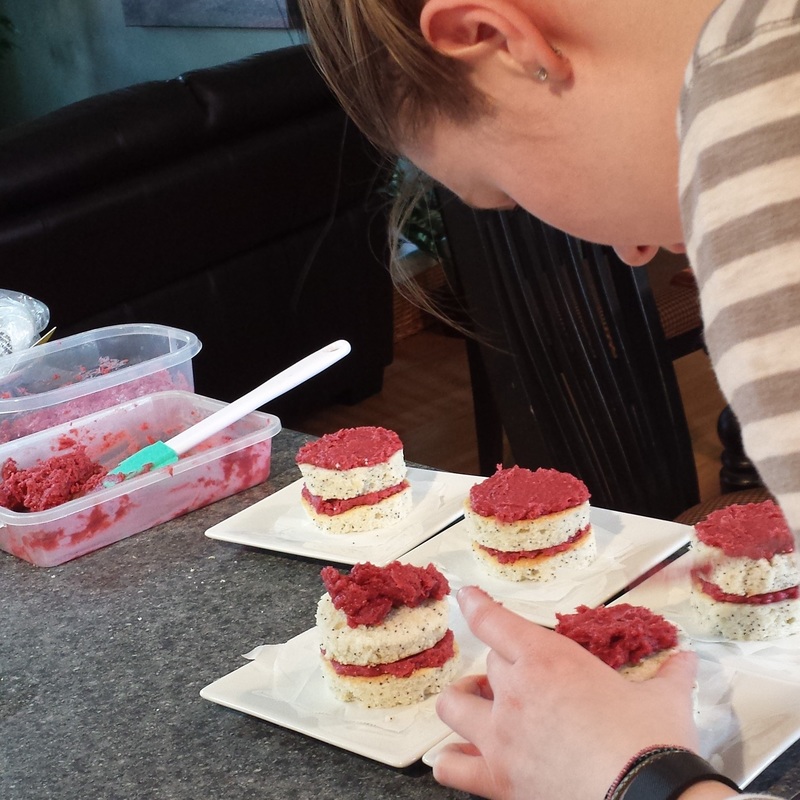
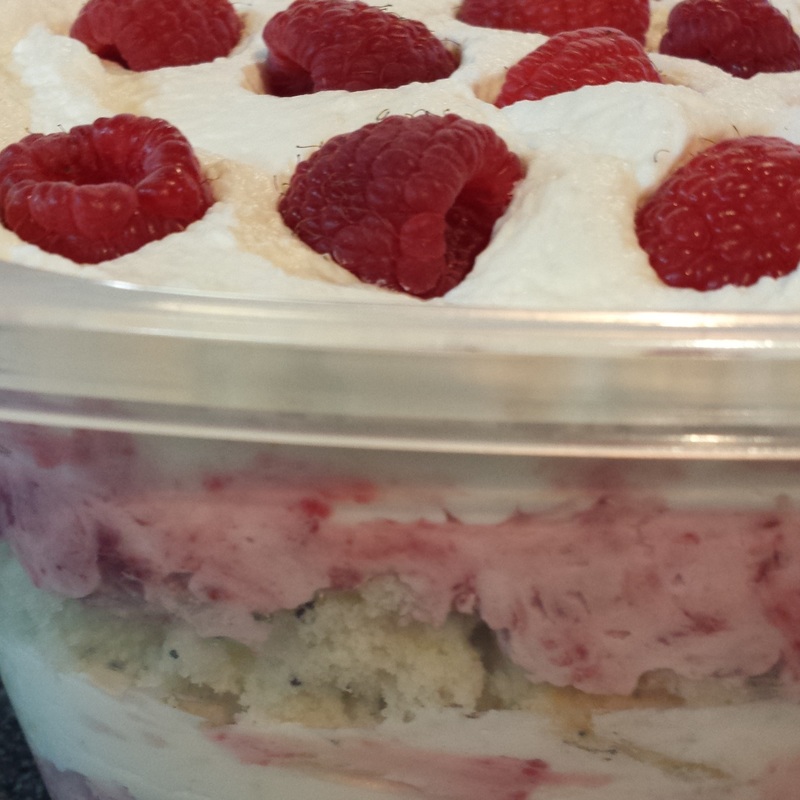
To make the mini cakes, bake the batter in a 9x13 pan and use a cookie cutter or a round lid and cut around it to make 6 small cakes rounds. Cut them in half horizontally and fill with the raspberry curd. We had fun snacking on the leftovers, but discovered they also are great with the leftover curd in a trifle. Ashley made a trifle in a container to haul back to university. So it didn’t look to pretty, but tasted great. We whipped some cream. Folded some into the curd and topped it with fresh berries. Leftovers should always be this good.
So be prepared to put some time into making the mini cakes. They are worth it though.
I’ve made the cute mini cakes and a 3 layer 9 inch cake and both are winners. I like to make my layer cakes ahead and freeze them. Once I have the filling and icing made, I start putting the cake together. It instantly sets. It cuts down a lot of time waiting for layers and scratch coats to set. It also has to sit and thaw. I like to let the cake sit after it is all put together. The flavours blend and it tastes better. It takes way less time to make the larger cake and it’s just a delicious. Way easier over all. But if want to make an impression, go with little cakes. Either way, you can’t lose. 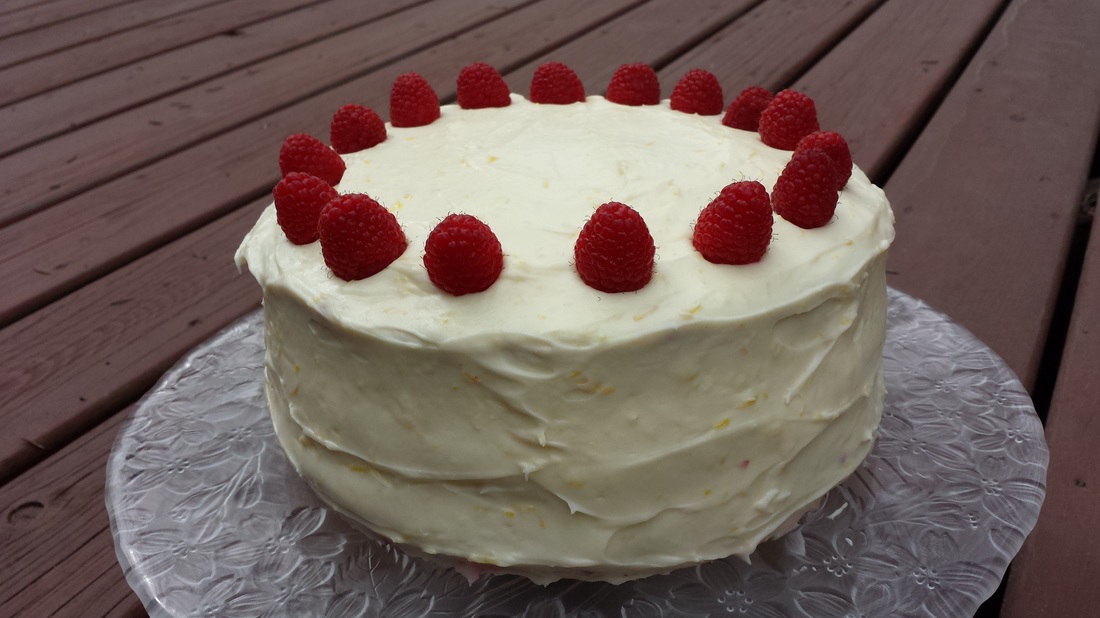
LEMON POPPY SEED CAKE WITH RASPBERRY CURD 
Keywords: dessert Easter cake Ingredients
Instructions CAKEPreheat the oven to 350 degrees. Line a 9×13″ cake pan with parchment paper. Whisk together the flour, baking powder, salt, and poppy seeds in a bowl. Set aside. With your mixer, beat the egg whites on medium until foamy. Add the cream of tartar and increase the speed to medium-high. Beat until stiff peaks form. Set aside. With another bowl, beat butter on medium speed until smooth. Gradually add the sugar and beat until mixed. Mix in the lemon zest. Beat the mixture on medium-high speed until light and fluffy. Add 1/4 cup of the milk and beat until just blended. Reduce the speed to low and add the flour mixture alternately with the remaining milk. The mixture is very thick. Beat until just blended. Using a rubber spatula, fold one quarter of the egg whites into the batter, being careful not to deflate the mixture. Once incorporated, add in the rest of the whites and gently fold in until well combined. Pour the batter into the prepared pan and bake until golden and a toothpick inserted in the center comes out clean, about 30 minutes – 9x13; 20 minutes – 3, 9”round. Cool the cake in the pan on a wire rack for 10 minutes. Remove and allow to cool completely. RASPBERRY CURDMelt the butter in a large saucepan over medium heat. Add the thawed raspberries. Or if you like me and forgot to thaw them, dump them into the pot with the melted butter. Let them slowly thaw and medium-low. Mix together egg yolks, sugar, lemon juice and corn starch. Mix until smooth. Add the raspberry/butter mixture and cook, mashing the berries. Make sure to add the egg mixture before the raspberry/butter mixture gets hot or you will have a mess on your hands. Stir frequently at first and then constantly at the end, until thickened, about 10 minutes. Cool to room temperature; the curd will continue to thicken as it cools. Cover and refrigerate until ready to assemble cake. ICINGCombine softened cream cheese and butter. Beat until fluffy. Add lemon zest and lemon juice. Mix. Gradually add icing sugar. Beat until fluffy. ASSEMBLECut the cake into rounds as desired for 6 individual cakes. Split the cake in 2 and fill with raspberry curd. Or if you are making the 3 layer cake, place the raspberry curd between layers. Put on a scratch coat of icing and chill till the icing is firm. (A scratch coat is the first coat of icing that seals the cake and gives it its shape. So the layers should be smoothed out. It usually does not look at all finished. Once the cake is chilled, the final coat of icing goes on so much smoother. It makes icing a cake way easier.) Once the cake is set, do a final coating of icing. Decorate and garnish with fresh raspberries as desired.
Powered by Recipage
You will never want the store bought kind again. This is so simple and easy! And it tastes sooo good!!
They are lots of additions that can be made. 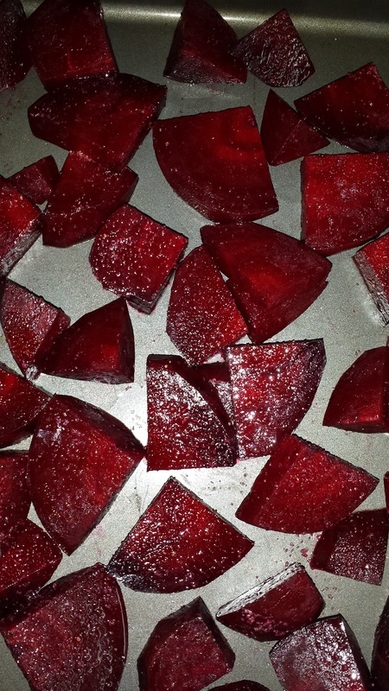
My sister loves the banana peppers and jalapeno. Me, I’m not a fan of spicy food so I like the others. Both the roasted red pepper and caramelized onion are very good. Just plain is good. You can’t go wrong.
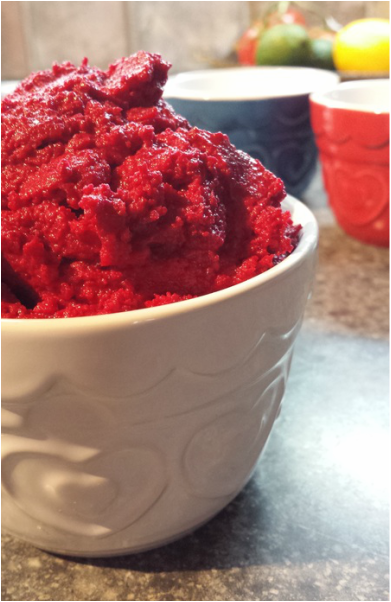
Try the Roasted Beet Hummus for something different, which is what I’m making tonight as an appetizer. I’m serving it on slices of cucumber or with your favorite cracker. Roasting your beets will enhance the flavor, but it also takes time. I’m a big fan of roasting my veggies. I find everyone eats so many more than if you boil or steam them. If you are in a hurry you can also use pre-cooked beets. They will work – the end result will still be delicious, just be a little different.
HUMMUS 
Keywords: blender appetizer snack gluten-free vegetarian Ingredients
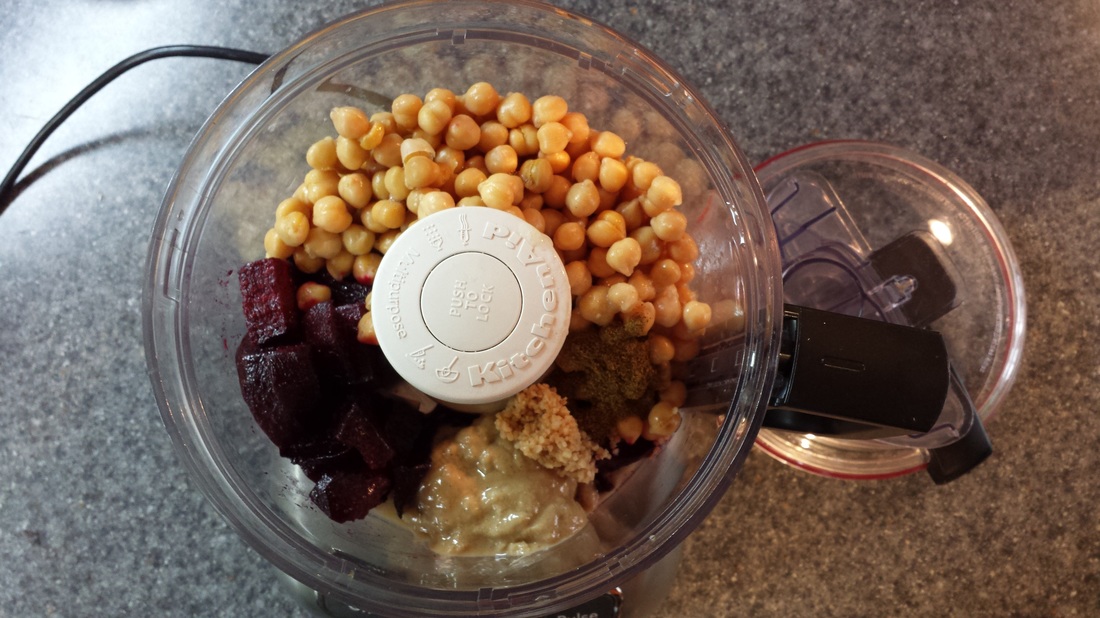
Instructions Put all ingredients in your food processor or blender and blend until the consistency you want is achieved. Add water as needed if the mixture is too thick and/or you have a hard time blending the hummus into a smooth even texture. Taste and adjust seasoning to your liking. Keeps in the fridge for about 1 week.
Powered by Recipage
ROASTED BEET HUMMUS
3 medium beets, peeled and chopped
Omit the chili powder Preheat oven to 400 degrees. Toss beets in a little bit of oil, a sprinkle of garlic powder and some salt and pepper. Roast the beets in a single layer for 20 to 30 minutes or under soft and tender. Place cooled beets in with the chickpeas and other ingredients and blend.
Who wants simple, delicious ribs? Easy to make?
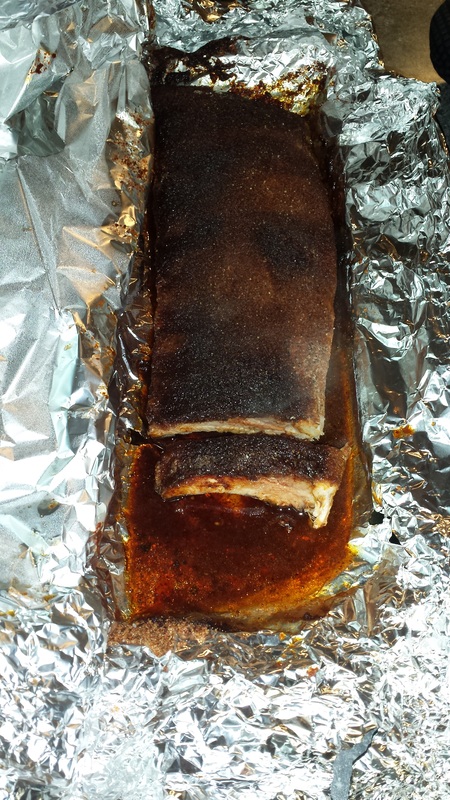
Here’s your answer. Throw them together, pop them in the oven and let them slow bake. They come out delicious every time.
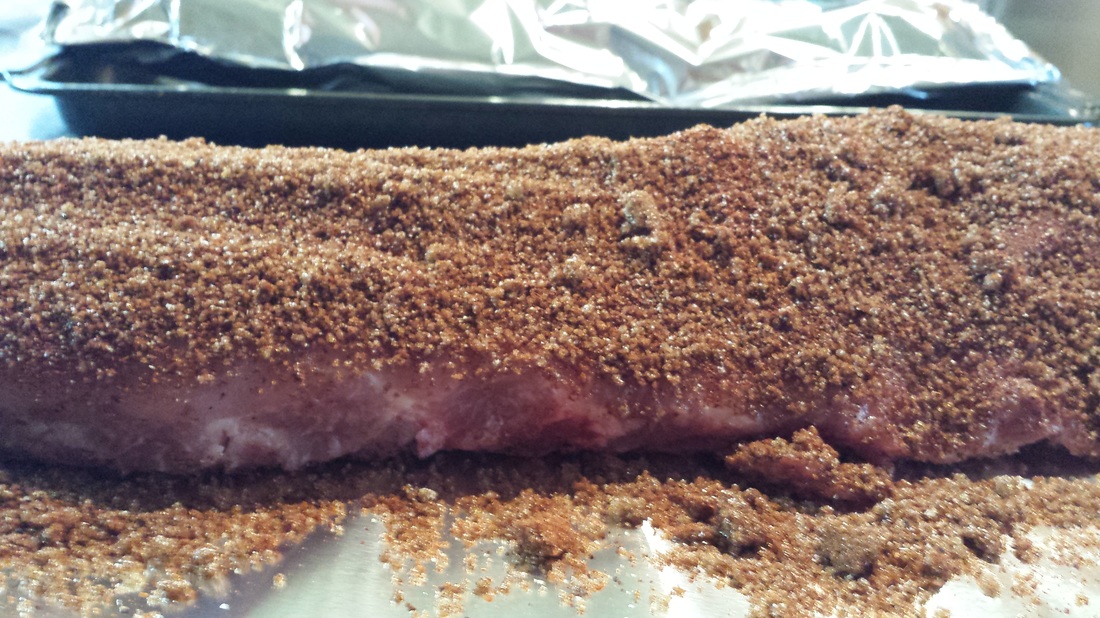
This recipe is adapted from Smitten Kitchen. You’ll find there is about 1 cup rub per rack. I know it sounds like a lot, but just try it.
I’ve always made my ribs by boiling them first (I throw in a beer, Montreal Steak Spice, garlic, pepper, bbq sauce), then toss them in barbeque sauce and finish them off on the barbeque. These ribs are very good… but the oven baked ribs are just so much easier. I found that the cajun is the mildest seasoning, then chipotle, followed by the cayenne. I tested the 3 seasonings with regular and smoked paprika and the smoked paprika came out a little spicier when combined with the seasoning. Don’t be afraid to add more than 1 tsp of seasoning if you want a stronger flavor. I hope this helps. BAKED OVEN RIBS 
Prep Time: 10 minutes Cook Time: 6 hours Keywords: bake Ingredients
Instructions Heavy-duty foil and a large baking sheet per rack of ribs. Preheat oven to 200°F - see TIMING below. In a medium bowl, combine all of the spices and seasonings. On a piece of foil place rack of ribs, meatier side down. Sprinkle about a ¼ of a cup of spice rub over back of the rack and rub it in. Don’t forget the sides. Flip the rack of ribs on the foil so the meatier side is up now. Pat on remaining rub. Place another piece of foil on top and tightly fold the foil to seal packets. Place foil packages on a baking sheet. Bake for 6 hours. Check at the 4 hour mark and adjust your temperature if needed for the following 2 hours. TIMINGI’ve cooked these in different ovens and found that you really need to know your oven. At home I have a convection oven and the temperature is right on. I cooked the ribs at 200 degrees in my convection oven, not the 25 degrees lower that’s recommended. But the oven at the condo in Kimberley runs a little hot. So 4 hours at 200 degrees followed by 2 hours at 175 degrees, is perfect there. Be aware that cooking times are going to vary depending on your oven or the rack of ribs you have. At the 4 hour mark, check the ribs. If they are not cooking fast enough, increase the temperature to 300 degrees. If they are cooking too fast, decrease the temp to 175 degrees. Sorry for any confusion, but it is not an exact science. Just try them. You won’t be sorry.
Powered by Recipage
I usually don’t make any resolutions, but this year I want to really improve my overall health. I have had some issues that I have been dealing with in the last year and need to really think about small changes in my life. Everyday stuff. I want my resolutions to be realistic. Eat dessert and enjoy it! I’m not going to feel guilty about it. I figure that I should be living my resolutions every day. Eat healthy and exercise more. Well, we all need to do that, all the time. And from time to time, yes we eat unhealthy. I’m not saying to eat dessert every day, but to have a treat or eat one meal that you really shouldn’t once in a while is okay. As long as I’m sticking to the healthy diet the rest of the week, I believe it’s okay. All in moderation, as the saying goes. So now that all those goodies are gone from Christmas, I’ll be back on track... once the mother’s birthday’s are over. Then there’s a ski weekend, then off to Maui for a couple a weeks... I need to pay attention all the time because there is always something going on. It is making the everyday healthy living possible anywhere you are. Easy to say... harder to do. I will make healthier choices in restaurants and when we are on holidays. The first birthday, was my mom’s. On Sunday I made a Flourless Chocolate Cake, since mom does not tolerate gluten very well. It is very rich and decadent. A small piece is all you need. Today it’s a Black Forest Cake for my mother-in-law. Two cakes in one week is a lot of cake to eat AND no kids at home anymore to eat all the leftovers in the frig. To start, you will make my Idiot Proof Chocolate Cake. It is such a versatile recipe. Click here for theIdiot Proof Chocolate Cake. BLACK FOREST CAKE 
Keywords: dessert cake Ingredients
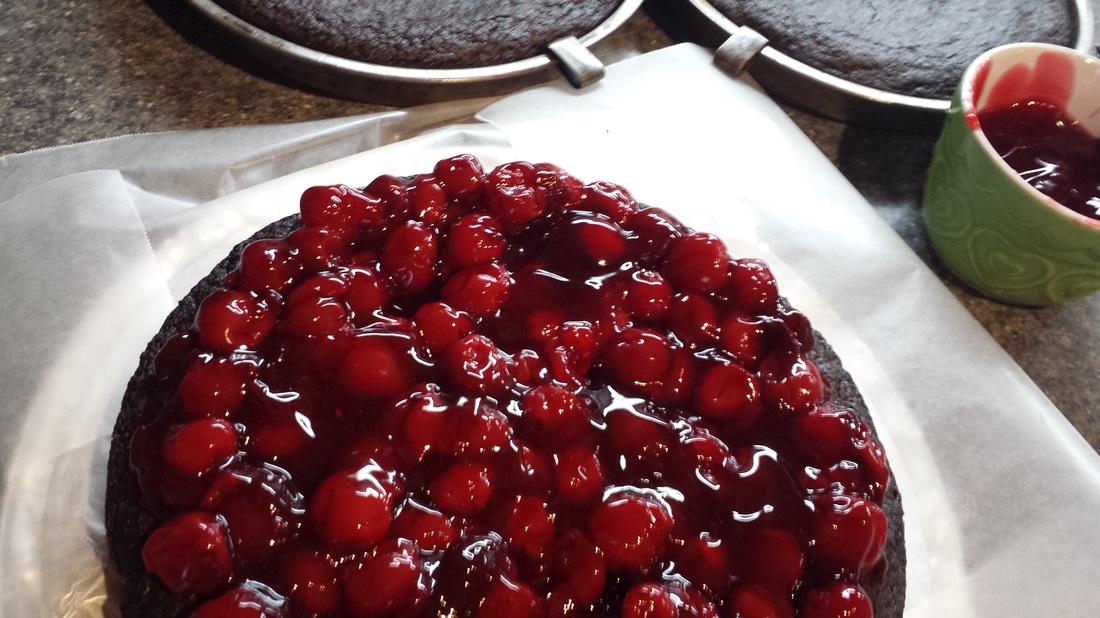
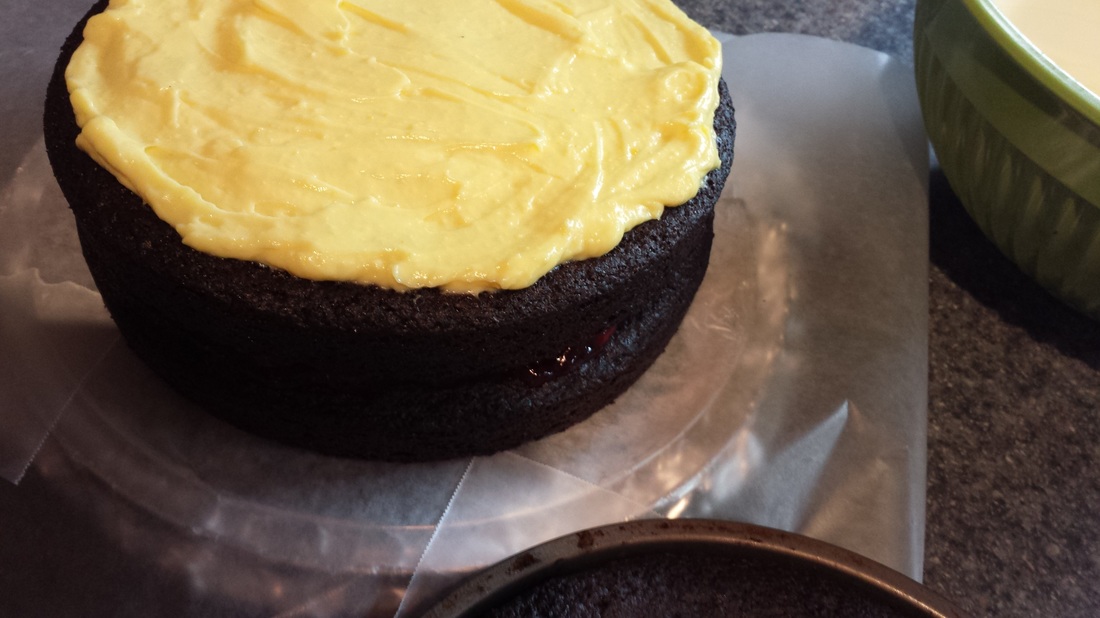
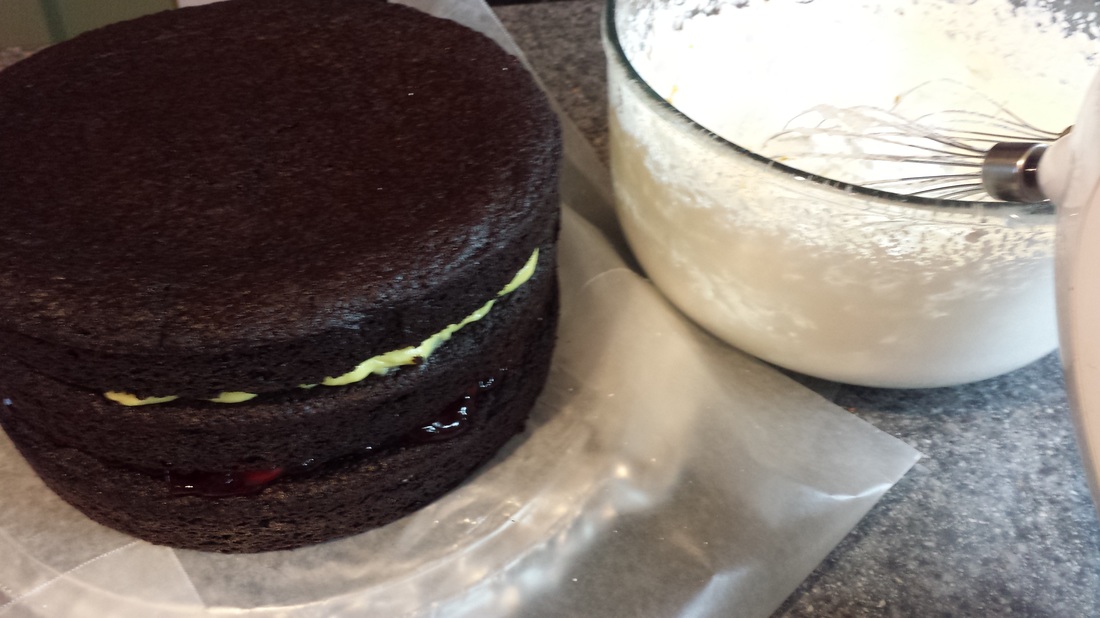
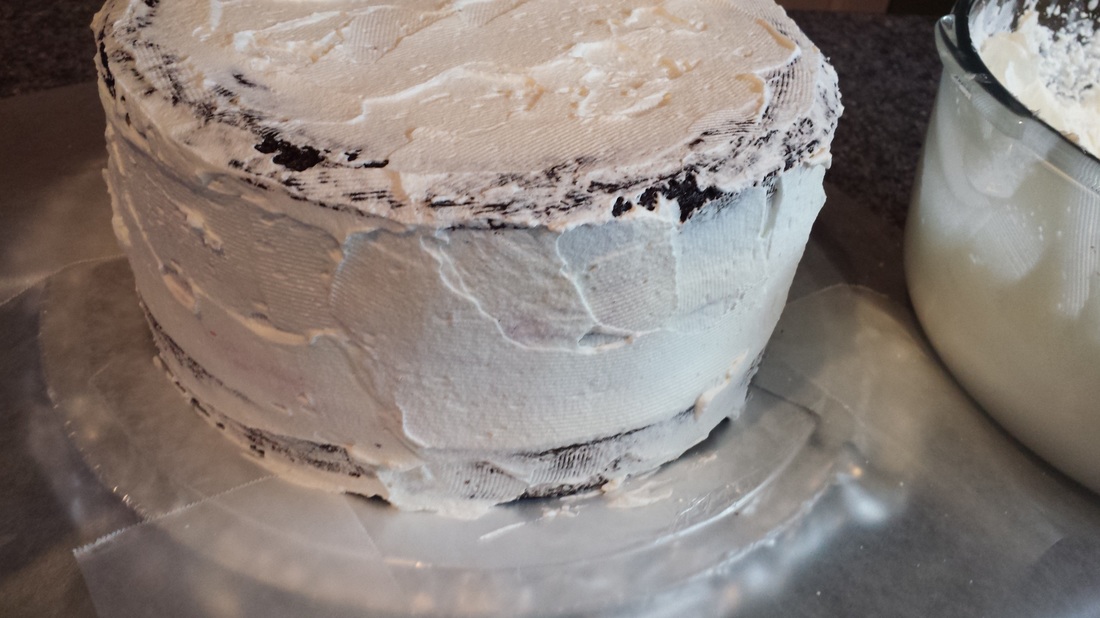
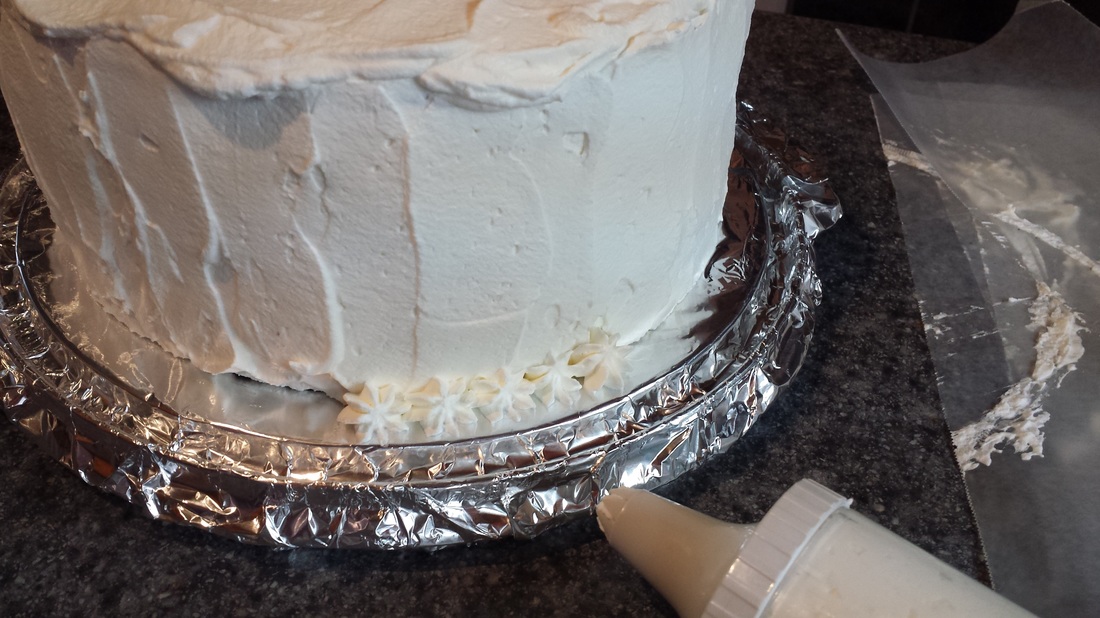
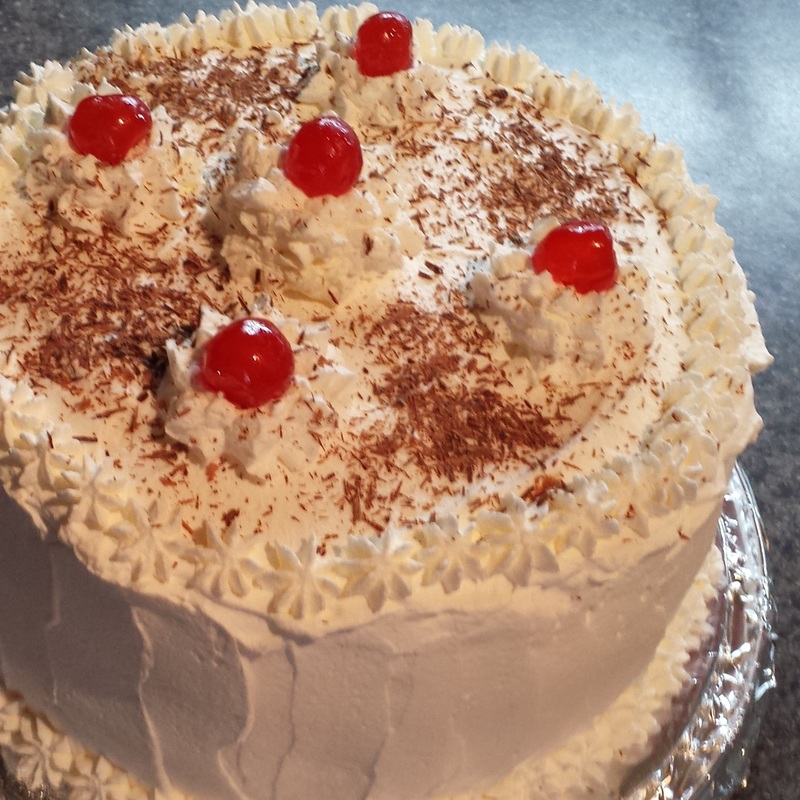
Instructions CAKEFirst, start by making the Idiot Proof Chocolate layer cake. I like to make it the ahead and freeze it. When the cake layers are frozen, your cake instantly sets. It’s wonderful and it’s fast. But if you don’t have time, that’s okay. Just make sure you chill the cake well before serving. FIRST LAYERThe bottom layer is cherries. The easiest way is to take a can of cherry pie filling and take all the cherries (and some of the sauce out) and spread them out with just enough of the sauce. OR you can take a bag of frozen cherries, dump them into a sauce pan, add a little water and start to cook them. Take 1 tablespoon of corn starch and mix it with a small amount of cold water and add that to the cherry mixture while it is just starting to cook. Stir the cherry mixture until it is boiling and thickened. Refrigerate until cold before using. (This also is a great accompaniment with the flourless chocolate cake. Or use it for jam. There’s no added sugar!) SECOND LAYERThe next layer is lemon. I use a lemon pie filling or lemon pudding mix. Simple and easy. Reduce the amount of liquid a bit so the filling will be very thick. So if your pudding mix is calling for 2 cups, only use 1 ½ cups. ICINGOnce you have the cake and the layers altogether, a simple whipped cream icing is all that’s needed. I use approximately 3 cups. I don’t tend to sweeten the cream, but I’ll leave that up to you. Just whip the cream, ice the cake. Put a scratch coat on the cake first. It will look very rough but it will make it easy to get a good finished look. Make sure the layers are filled in on the edges. Then add a final coat of icing. Add a few maraschino cherries (dry them off on a paper towel ) and chocolate shavings to the top and you have yourself a Black Forest Cake. Refrigerate and let the cake set.
Powered by Recipage
2015 was a great year! I have continued to learn a lot during the first year - keeping my website updated, getting those old recipes on, creating new recipes and continuing to eat and live a healthy life style.
I enjoy the challenge of creating a new recipe. I often find I want something that has very specific ingredients. Usually because that is what I have on hand and am not willing to make an extra trip to the grocery store. These pumpkin scones are one of these recipes. 
I have always made biscuits/scones. There are sooooo many different kinds. We have always served biscuits in our house. Here is a link to my traditional scone/biscuit recipe. I can remember making these when I was a teenager. I was too lazy to cut the butter in – it is a pain. I like things to be easy. So Mom just said, “Just use oil.” So from that day on, I usually just use oil in my scones. 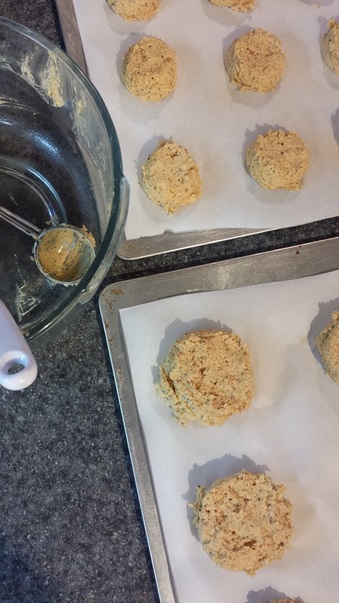
So this is my update on my traditional biscuit. Every time I make these pumpkin scones, I like them more and more. My daughter took some back to university with her and says they are the best with jam on for breakfast. So they freeze well. But they are equally good with soup. Yes with soup or chili and the base for eggs benny. 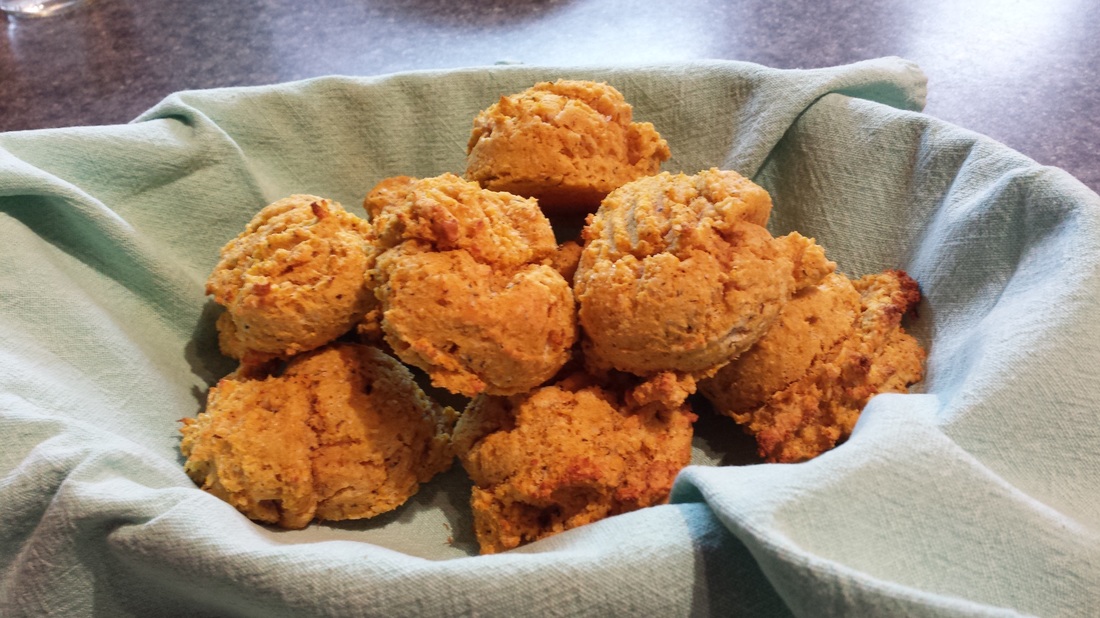
PUMPKIN SCONES PALEO 
Keywords: bake paleo Ingredients
Instructions Preheat oven to 350 degrees. Line a baking sheet with parchment paper. In a bowl combine dry ingredients. Cut the butter into the dry ingredients. Add in wet ingredients; using a fork mix together to combine. Let mixture sit 5 minutes to give the coconut flour time to absorb some of the liquid. Scoop onto baking sheet. You should get about 9 scones. Bake for approximately 15 minutes or until cooked through and flakey. Serve warm with butter.
Powered by Recipage
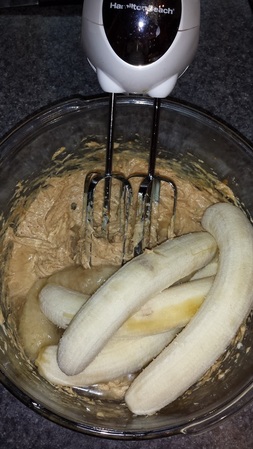
There is nothing like banana bread. Almost everyone loves it. I always seem to have leftover bananas. My pile in the freezer is getting to big so on this cool fall day, banana bread seems to be the perfect loaf to make.
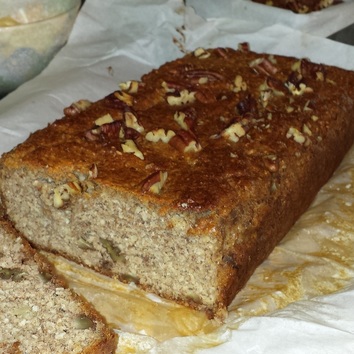
This recipe makes two loaves. Usually loaf recipes are for only one loaf. I find it’s never enough. I want to use some of it for French toast on the weekend. You can make these into muffins easily enough too. Don’t be afraid to add in your favorites – chocolate chips, raisins or craisins.
You will notice there is a lot of cinnamon in the recipe. I find it helps sweeten the bread without adding any additional honey. By all means if you want a sweeter load add in ¼ cup of honey. It takes time to get use to not adding in any additional sweetener, but I don’t miss it anymore.
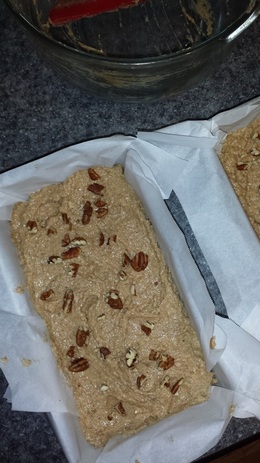
I have found that the paleo loaves I make can turn out mushy inside if they are not cooked for long enough. Often they look done, but because of the bananas and eggs, they take a little longer than the traditional banana breads. The almond flour also tends to brown very easily. So know your oven – mine is not a hot oven, it is convection so it sometimes takes a little longer I find. Which does not make sense, I know. Convection ovens are suppose to take a few minutes less cooking... but I find that is not true with almond flour recipes. Just keep checking the loaves every 5 minutes after the 55 minute mark.

BANANA BREAD PALEO 
Keywords: bake bread snack gluten-free paleo sugar-free Ingredients
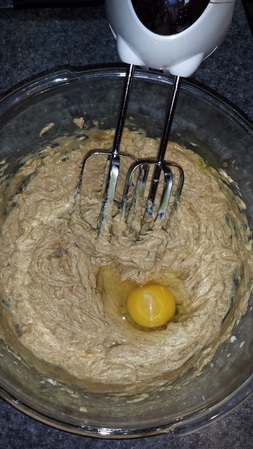
Instructions Preheat oven 350°F and line 2 loaf pans with parchment paper. With a mixer cream the butter, almond butter and vanilla. Add in 1 egg at a time and beat thoroughly between. Add in bananas and beat until smooth. Add in almond meal, cinnamon, salt, nuts and baking powder. Mix until just combined. Spoon in prepared pan, sprinkle with extra nuts and place in to the oven for 55 to 65 minutes or until it springs back when you lightly touch the top. Allow to cool before you turn out, slice and serve!
Powered by Recipage
Have you ever had the Aussie Bites they sell at Costco? My family inhales them the couple of times we have had them. They are very good, a bit sweet for my taste, but still good. So while I shopping today at Costco I saw them. I wanted to buy them, but I really shouldn’t be eating them. I took a picture of the ingredients on the package and came home and made my healthy version of them. OMG!! They are tasty morsels. These little bites will not last long.
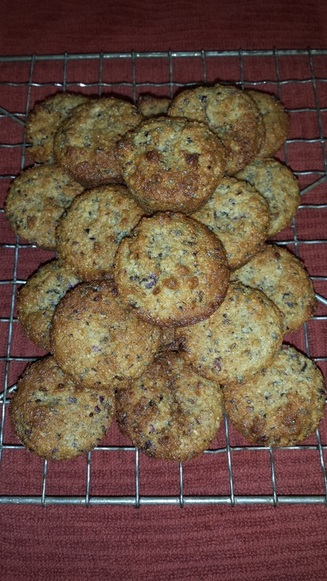
Our society eats way to much sugar. I looked at someone’s recipe online to see what they had done and couldn’t believe they amount of sugar they said to put into their recipe. Mine has fresh cranberries in it – which you know are not sweet at all. There’s barely a quarter of a cup of honey in these! If you substitute dried apricots or any dried fruit for the cranberries, you should only use 2 tablespoons of honey.
This recipe is a keeper. I think I will need to make a few batches for my little nieces when I visit next time. Maybe even for my kids cause none of them live a home anymore. When you feed these to your family at least you know they are inhaling healthy little Aussie bites!! 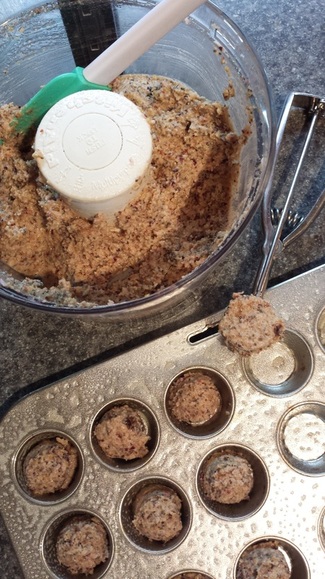
CRANBERRY AUSSIE BITES PALEO 
Keywords: snack paleo gluten-free Ingredients
Instructions Preheat oven to 350 degrees. Lightly grease your 24 a mini muffin pan. This recipe makes approximately 44 mini muffins – but most people do not have more than 1 mini muffin pan. So you will need to use your regular muffin tin to finish using up the remaining dough. You should get an additional 5 or 6 regular muffins. OR this will make 12 regular muffins. Combine in cranberries, raisins, sunflower seeds, coconut and pecans in your food processor. Pulse until they are in small bits. Add almond flour, ground flaxseed, chia seeds and baking soda. Pulse until just mixed. Pour in honey, softened butter, egg, and vanilla extract. Pulse just until combined. Divide batter among the prepared muffin tins. Bake in the preheated oven until golden brown. Bake times: mini muffins- 15 – 17 minutes; regular muffins 22 – 24 minutes. Remove pan from oven and let cool in pan on a wire rack for 10 minutes. Remove muffins from tin and let cool completely on the wire rack.
Powered by Recipage
Why can I never find the recipe I am looking for on the internet? I have a couple of zucchinis to use up and a lot of frozen bananas that I should be using too. This is a combination of three different recipes.
I don’t mind small amounts of coconut flour in my baking as long as I combine it with almond flour. 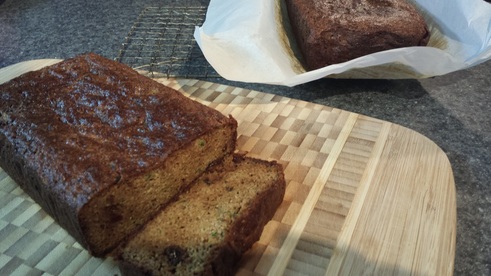
Well this recipe does not have any coconut flour in, but all the tasty things we want in the fall. I usually don’t use much molasses, but it gives the batter that full depth flavour.

I also love raisins. In all the years of raising kids I’ve found they do not particularly like them, but eat them because I refuse to eliminate them. Craisins are great with pumpkin, but I didn’t feel like experimenting when it came to this recipe.
I hope you enjoy this loaf. ZUCCHINI GINGER LOAF 
Ingredients (2 loaves)
Instructions Preheat oven to 350 degrees. Line 2 loaf pans with parchment paper. Combine wet ingredients (not zucchini) and beat on medium for about 2 minutes. Add spices and mix. Add almond flour and soda and mix. Add zucchini and raisins and mix until combined. Pour batter into loaf pans. Bake for 50 - 60 minutes until a toothpick comes out clean. Remove from oven and let cool for 5 minutes. Cool on wire rack.
Powered by Recipage
I use to really dislike blue cheese till I was introduced to a vegetable casserole dish we use to have at my mother-in-laws all the time. The combination of blue cheese, cream cheese and green beans worked. I was converted. (I'll get that recipe posted soon here.) Since then I have discovered how delicious blue cheese can be when combined with mixed greens, blueberries, red onion and topped with an onion dressing. Yummy! It's very good. But that's not the recipe I wanted to share with you...
So even if you are not a fan of blue cheese, these may win you over. There really isn’t a recipe for these, I just tried to copy the Mr. Greer’s blue cheese mushrooms. We were down the street for dinner at a friend's house and they served blue cheese mushrooms on our steak sandwich. They are fabulous! So fabulous that my daughter Rebecca will now eat mushrooms and blue cheese. These are mild, if you make them mild... the more blue cheese you add, the stronger the taste. I just have to say YOU GOTTA TRY BLUE CHEESE MUSHROOMS!! 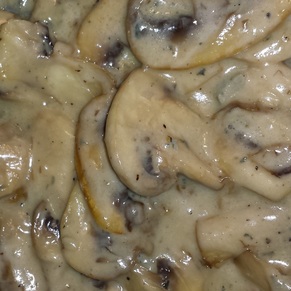
BLUE CHEESE MUSHROOMS Keywords: saute side Ingredients
Instructions Add your mushrooms to your choice of oil and sautee over medium heat. I use butter and bit of olive oil. Season with salt, pepper and garlic powder. When the mushrooms are almost done, add fresh garlic and lower heat. I find the garlic will burn easily if you add it to early. Add blue cheese and whipping cream. If you are serving these mushrooms to those who do not really like blue cheese, just don’t add as much. You will need just enough whip cream to smooth the blue cheese altogether. You want the liquid mixture to reduce until there is not really much left.
Powered by Recipage
|
Search this website:
Hi! I'm Jayne.Welcome! Here are my recipes that I've collected for years. Many are old classics and others are new favorites. A lot of my new recipes are paleo/primal ones. Archives
December 2017
Categories |